Don’t you hate it when deploying your app takes ages? Over a gigabyte for a single container image isn’t really what is viewed as best practice. Pushing billions of bytes around every time you deploy a new version doesn’t sound quite right for me.
TL;DR
This article will show you a few simple steps of how you can optimize your Docker images, making them smaller, faster and better suited for production.
The goal is to show you the size and performance difference between using default Node.js images and their optimized counterparts. Here’s the agenda.
- Why Node.js?
- Using the default Node.js image
- Using the Node.js Alpine image
- Excluding development dependencies
- Using the base Alpine image
- Using the builder pattern
Let’s jump in.
Why Node.js?
Node.js is currently the most versatile and beginner friendly environment to get started on the back end, and I write it as my primary language, so you’ll have to put up with it. Sue me, right. 😙
As an interpreted language, JavaScript doesn’t have a compiled target, like Go for example. There’s not much you can do to strip the size of your Node.js images. Or is there?
I’m here to prove that to be wrong. Picking the right base image for the job, only installing production dependencies for your production image, and of course, using the builder pattern are all ways you can drastically cut down the weight of your images.
In the examples below, I used a simple Node.js API I wrote a while back.
Using the default Node.js image
Starting out, of course, I used the default Node.js image pulling it from the Docker hub. Oh, how clueless I was.
FROM node
WORKDIR /usr/src/app
COPY package.json package-lock.json ./
RUN npm install
COPY . .
EXPOSE 3000
CMD ["node", "app.js"]
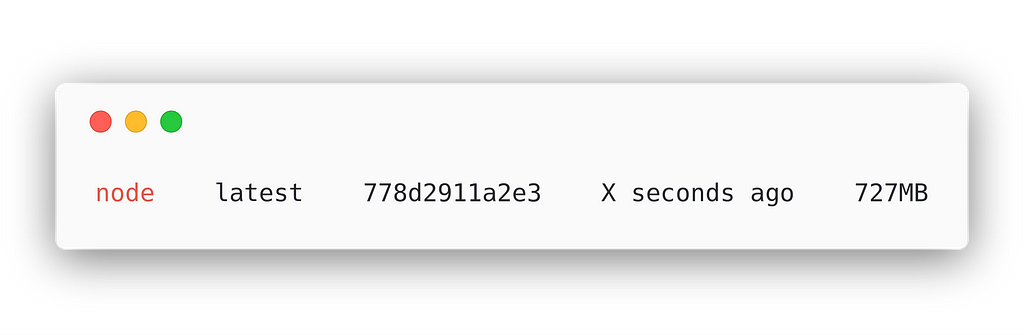
Want to guess the size? My jaw dropped. 727MB for a simple API!?
Don’t do this, please. You don’t need to do this, honestly, just don’t.
Using the Node.js Alpine image
The easiest and quickest way to drastically cut down the image size is by choosing a much smaller base image. Alpine is a tiny Linux distro that does the job. Just by choosing the Alpine version of the Node.js will show a huge improvement.
FROM node:alpine # adding the alpine tag
WORKDIR /usr/src/app
COPY package.json package-lock.json ./
RUN npm install
COPY . .
EXPOSE 3000
CMD ["node", "app.js"]
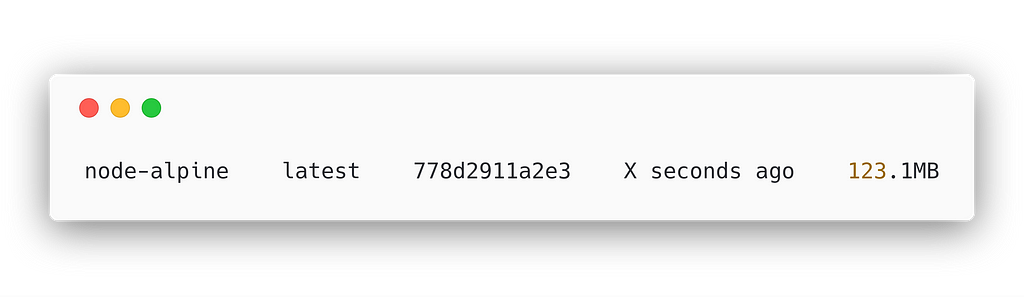
A whole of six times smaller! Down to 123.1MB. That’s more like it.
Excluding development dependencies
Hmm… But there has to be something else we can do. Well, we are installing all dependencies, even though we only need production dependencies for the final image. How about we change that?
FROM node:alpine
WORKDIR /usr/src/app
COPY package.json package-lock.json ./
RUN npm install --production # Only install prod deps
COPY . .
EXPOSE 3000
CMD ["node", "app.js"]
There we go. We shaved another 30MB off! Down to 91.6MB now. We’re getting somewhere.

This had me quite proud of myself, and I was ready to call it a day. But then it hit me. What if I start with the raw Alpine image? Maybe it would be smaller if I grab the base Alpine image and install Node.js myself. I was right!
Using the base Alpine image
You’d think a move like this one would make little to no difference, but it shaved another 20MB off of the previous version.
FROM alpine # base alpine
WORKDIR /usr/src/app
RUN apk add --no-cache --update nodejs nodejs-npm # install Node.js and npm
COPY package.json package-lock.json ./
RUN npm install --production
COPY . .
EXPOSE 3000
CMD ["node", "app.js"]
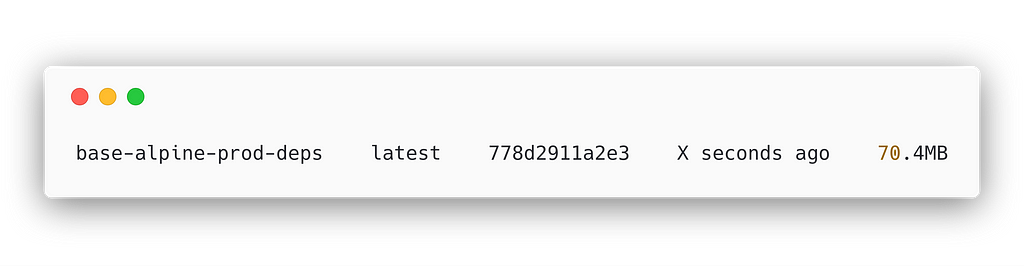
Down to 70.4MB now. That’s a whopping 10 times smaller than where we started!
Not much more we can do now, right? Right…?
Using the builder pattern
Well, actually, there is. Let’s talk a bit about layers.
Every Docker image is built from layers. Each layer is a command in the Dockerfile. Here’s the file from above:
FROM alpine # base alpine
WORKDIR /usr/src/app
RUN apk add --no-cache --update nodejs nodejs-npm # install Node.js and npm
COPY package.json package-lock.json ./
RUN npm install --production
COPY . .
EXPOSE 3000
CMD ["node", "app.js"]
The FROM instruction creates a layer, so does the WORKDIR, as well as RUN, etc. All the layers are read-only, except for the last one, the CMD, which is a writable layer. Read-only layers can be shared between containers, meaning one image can be shared between containers.
What’s going on here is that Docker uses storage drivers to manage read-only layers and the writable container layer. This is the ephemeral layer that gets deleted once a container is deleted. Really cool stuff. But why is this important?
By minimizing the number of layers, we can have smaller images. This is where the builder pattern steps in.
FROM alpine AS builder
WORKDIR /usr/src/app
RUN apk add --no-cache --update nodejs nodejs-npm
COPY package.json package-lock.json ./
RUN npm install --production
#
FROM alpine
WORKDIR /usr/src/app
RUN apk add --no-cache --update nodejs
COPY --from=builder /usr/src/app/node\_modules ./node\_modules
COPY . .
EXPOSE 3000
CMD ["node", "app.js"]
We’re using the first image only to install the dependencies, then in our final image, we copy over all node_modules without building or installing anything. We can even skip installing npm in the final image as well!
Want to guess the final size? Go ahead!
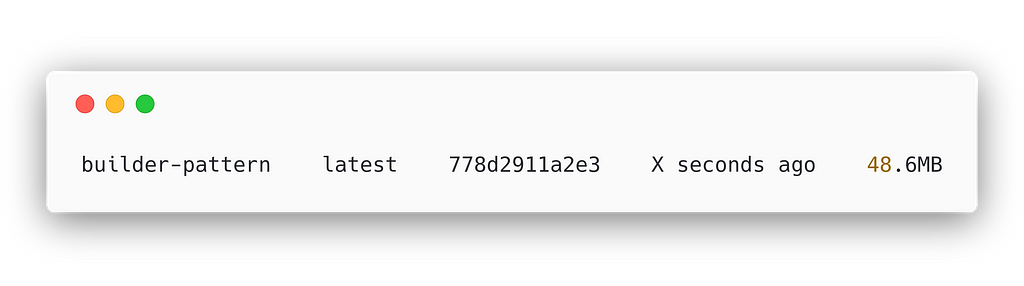
I’d say we’ve done good, getting it down to 48.6MB, which is a 15x improvement, is something to be proud of.
The engineering team over at Sourcerer is using this approach as well. They’re leveraging the builder pattern and creating several steps which include running tests, routine automation and bundling the app core for production.
The whole CI/CD process is tied together with Jenkins to automatically deliver new versions to production and development environments from specific Git branches.
The verdict
Don’t be naive, there’s absolutely no reason to have gigabyte-sized images in production. A great first step is to use a tiny base image. Start small, baby steps are fine.
By choosing optimized base images will get you a long way. If you really need the boost in deployment speed and are plagued with slow CI/CD pipelines, check out the builder pattern. You won’t want to do it any other way in the future.
Note : I did leave out a sample where development dependencies are included for running tests before deploying to production, as it wasn’t relevant to the final size reduction for running in production. Of course, it’s a valid use-case! Feel free to add your ideas in the comments below. I’d love to hear what you think!
If you want to check out any of my previous DevOps related articles about Docker and Kubernetes, feel free to head over to my profile.
Hope you guys and girls enjoyed reading this as much as I enjoyed writing it. Do you think this tutorial will be of help to someone? Do not hesitate to share.